Self-Build New Art Studio – part 1
6th December, 2017
About two years ago, due to redevelopment and sale of the farm, I lost access to my sculpture studio and have since struggled to get much work done. In addition, my wife and I purchased a camper-van and decided to spend time travelling across Europe – more on this another time.
Whilst travelling and over a few glasses of wine my wife and I decided that I needed a studio in the garden, so after much mulling things over and having looked at the prices of off-the-shelf garden rooms, I decided to design and build my own.
After clearing an area and consolidating the ground I finally started, and after much deliberation, I chose to use QuickJACK brackets and bearing plates for the base as they are very eco friendly, easy to level and much faster than a concrete base – I think I went way over the recommended supports but better safe than sorry. I used regularised timber (C16 and C24) throughout for all structural work and, as luck would have it, a local supplier a really big discount on structural and facing timber. However, this meant to make the most of the savings (the offer only lasted a month) I had order in bulk instead of ordering as I needed which in turn meant I had store lots timber. Moreover, the timber needed to be covered and off the ground.
As I wanted electrics in the studio i dug a deep trench and ran armoured cabling from a point close to where the household meter is and to roughly where I envisaged the consumer unit to be position in the studio.
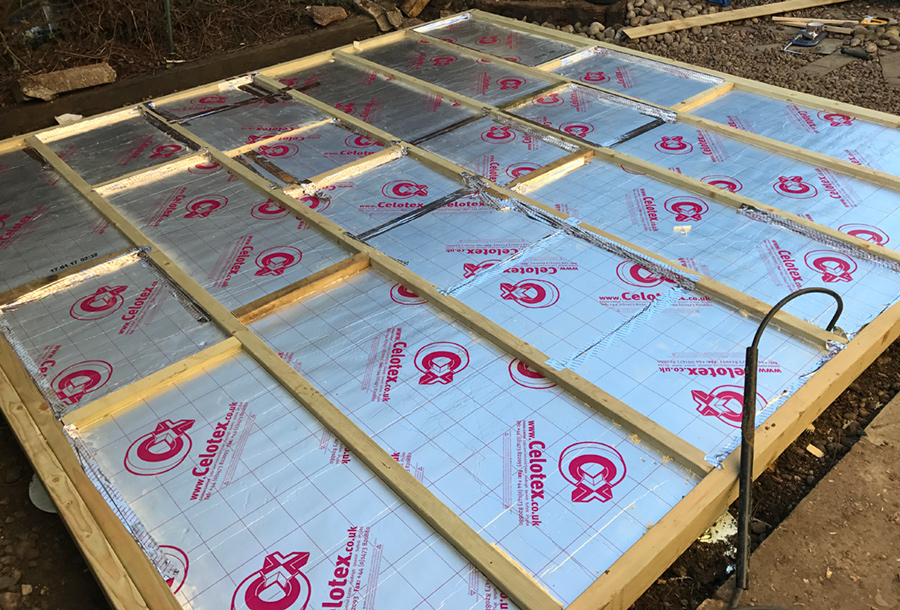
Next with the help of a friend and my son (along with plenty of encouragement, copious amounts of tea and snacks from my wife) I made up the base which included Celotex insulation and boarded over with SmartPly OSB and lot of nails.